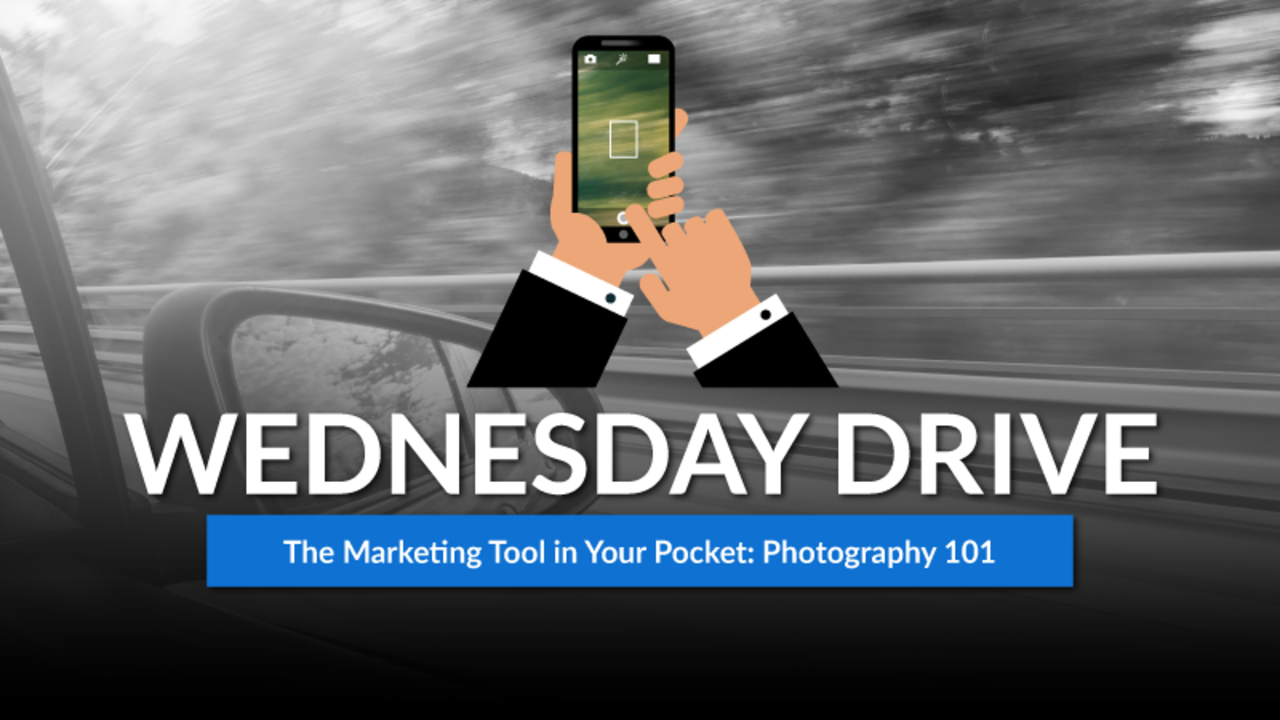
The Marketing Tool in Your Pocket: Photography 101
The phone in your pocket can be one of the best marketing tools you have. Capturing the right moment will say more than any well-written copy or sales pitch. Phones today have cameras that compare with the best professional cameras; only if you know how to use it.
Lesson #1: The Rule of Thirds
One way to tell an amateur from a professional is the way they frame their shots. Framing a shot is all about using little tricks for the placement of objects or people to add visual interest to a photo. The biggest trick in the book is using the rule of thirds. Imagine your screen being split into thirds horizontally and vertically. When you align visual elements on those intersections it creates the most visually appealing image. The best part is that you don’t have to imagine. Most phones have guides you can turn on in the settings to give you help while framing your shots.
Lesson #2: Pick Your Focus
The camera does a good job most of the time picking the right thing to focus on. Sometimes the software needs a little human help to make the right decision. If you press on your screen the camera will shift to make that selection in focus and change the brightness to make sure that selection is well seen. Bonus tip: If you press on the screen and move your finger up and down you can change the brightness of the image.
Lesson #3: Use the Physical Button
Sometimes you just can’t reach the on screen button. On most phones the volume + button works as a shutter to take your pictures. Using the button allows you to hold your phone more like a traditional camera. This small changes makes your shot more stable and gives you more freedom to see the whole screen without your hand in the way.
Lesson #4: Turn HDR to Auto
What in the world does that HDR button do? In the photography world you combine different brightnesses of the same picture to create one image that does not under or overexpose anything. HDR on your camera does the same thing. The software in the phone takes several pictures quickly then combines them into one picture. The advantage of this is that the image seems to be more balanced when it comes to brightness. Most phones will save an HDR and a standard image at the same time. If you set it to auto then the phones uses HDR when it thinks it will provide a better image
Lesson #5: Use Natural Light
The sun is all of the light you need. No matter how fancy the flash gets on a phone it is not bright enough or strong enough to really compete. In most situations the flash creates an obviously artificial light that screams amateur. The best times to take photos outside are right after sunrise and right before sunset. These “Golden Hours” give the most pleasant light and will make any subject appear at their best. If you are need to take a picture in a darker location try turning your flash off. The cameras on phones continue to handle low light better and better without the need for an artificial flash.
Lesson #6: Burst Mode
Why take one when you can take a couple. Most phones allow you to “burst” several images very quickly. It’s always tough to get all eyelids open during a group shot. Triple your chances by taking several at the same time. Hold down the shutter and watch as it counts off photos. Go back into the burst and select the images that turned out the best and save those for later. This is also a great way to make sure you get that perfect action shot.
Lesson #7: Edit the Image
There isn’t a photographer in the world that doesn't edit their image in some way shape or form. Most phones have a built in editor that allows you to adjust brightness, contrast, saturation, and other settings. Some minor changes can make a world of difference on your final image. If you want more control you can download an app like Snapseed which is available for both iPhone and Android. Snapseed gives you detailed control to really get an image to look the way you want. If you want to let the app do the work for you than you should look for an app like VSCO. The VSCO app allows you to import an image and apply presets to it. More filters can be purchased from both app stores.
Photography 101 Review
Using these simple tips you can take your photos up several notches. Potential clients want to see what their experience will be like and showing is always better than telling. Don’t be afraid to experiment and try to take photos from unusual angles or perspectives. Share the photos you are taking and don’t forget to ask your clients to do the same.